
Account Configuration
In order for the plug-in to connect to Mail Servers, you need to set up accounts for them. There are two ways to do this depending on your needs.
- Manually create accounts using the Account Configuration Dialog
- Automate creating accounts using the functions
See this FAQ article for more information.
Account Configuration Dialog
The easiest way to create accounts is to use the Account Configuration Dialogs using the POP3it_ConfigureAccount function. One way to use this function is to create a button on your layout that uses the “Set Variable” button step. For the Name of the variable, you can use something like “$Result” and for the Value of the variable, simply use “POP3it_ConfigureAccount” (without the quotes). After setting this up, press your new button, and the following dialog should appear.
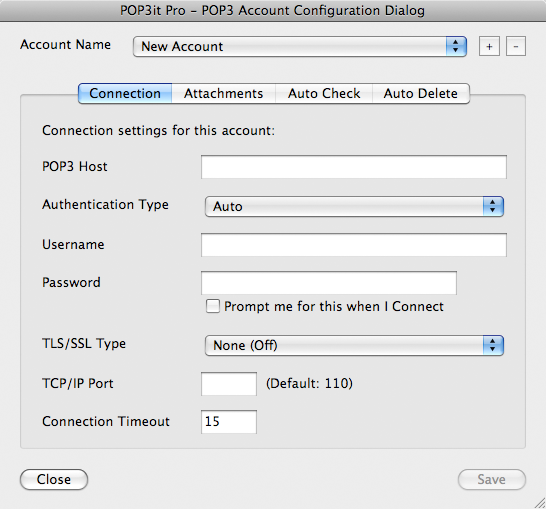
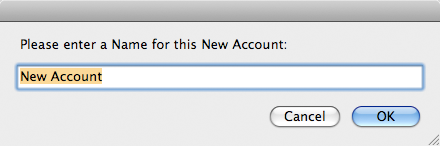
At the top of this dialog, you will see a list of Account Names. If you have not created a new account yet, you can press the “+” button to do so.
After creating a new account, you can begin setting the preferences on the Connection tab. If you do not know any of these settings, talk with the person that administrates your Mail Server.
- The POP3 Host is the full domain name or IP address of the Mail Server you want to connect to.
- The Authentication Type is the type of authentication your Mail Server requires, if applicable.
- The Username and Password are what you need to connect to the Server. If you don’t want to store your Password, you can optionally click the “Prompt me for this when I Connect” checkbox to have the plug-in ask you each time.
- If your Mail Server requires SSL/TLS connections, you can adjust that setting.
- The TCP/IP Port field is where you define an alternate port to connect on. Leaving this field blank uses the default port 110.
- Finally, the Connection Timeout lets you define how long POP3it Pro should wait for a response from your Mail Server before giving up.
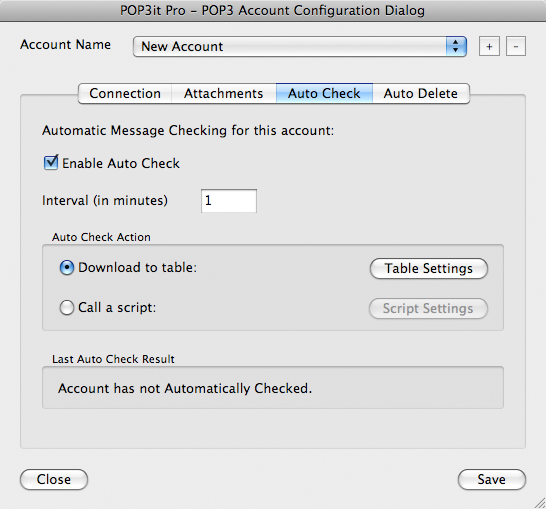
This tab allows you to turn on Auto Check. Auto Check will check your email account on an interval you specify.
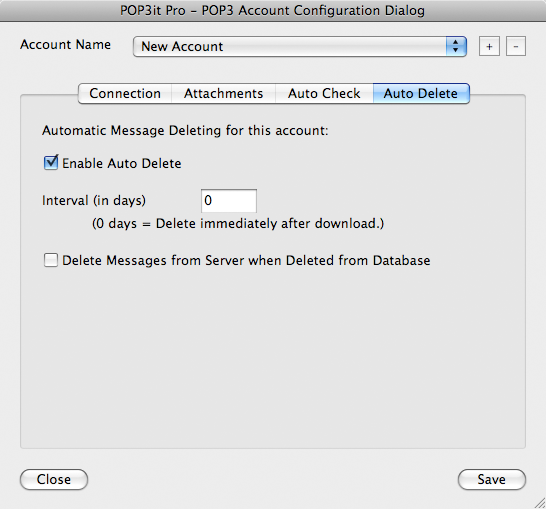
On this tab, you can specify if the plug-in should delete email off your mail server. You can specify the number of days the plug-in should wait before deleting email off the mail server.
Account Configuration via Function
The second and more complex way to create and edit accounts is via the plug-in’s functions. This method allows you to script the creation and editing of accounts and can automate the process. If you are using a Server Plug-in, this method must be used. The functions below allow you to check what accounts currently exist, create new accounts, delete accounts, set account details, and retrieve account details.
Returns the names of all currently defined accounts.POP3it_GetAccountNames
Adds a new account with the specified name.POP3it_Adv_AddAccount( “AccountName” )
Removes an account with the specified name.POP3it_Adv_RemoveAccount( “AccountName” )
Sets options in an account.POP3it_Adv_SetAccountOption( “AccountName” ; “OptionName” ; “OptionValue” )
Retrieves options from an account.POP3it_Adv_GetAccountOption( “AccountName” ; “OptionName” )
Using these functions you could write a script to check the existing accounts, create accounts that do not exist, and add account options. If you keep a table of Mail Server details, these functions will allow you to loop through your Mail Server records and create/update the POP3it Pro accounts.
More information about the functions can be found in the function browser.