Download Example File
Introduction
This example shows one way you can recreate an FTP client within FileMaker.
 FTP Client example database
Account Setup
In order to connect to FTP Servers, you need to set up accounts for them. Click the “Account Setup” button which calls the “Edit Accounts” script. This script opens the Account Configuration Dialog using the FTPit_ConfigureAccount function.
Need more information about working with accounts or how to automate account creation?
See the Account Configuration section of the documentation for more information.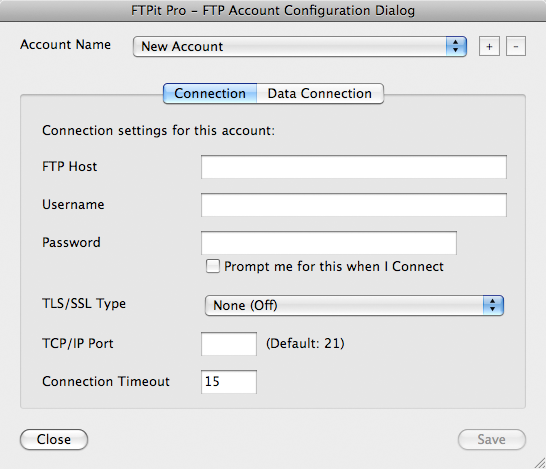 Account Configuration Dialog
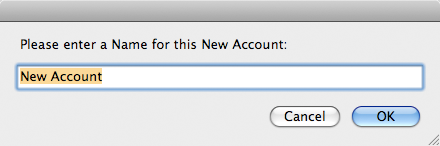
At the top of this dialog, you will see a list of Account Names. If you have not created a new account yet, press the “+” button.
 Add New Account
- The FTP Host is the full domain name or IP address of the FTP Server you want to connect to.
- The Username and Password are what you need to connect to the Server. If you don’t want to store your Password, you can optionally click the “Prompt me for this when I Connect” checkbox to have the plug-in ask you each time.
- If your FTP Server requires SSL/TLS connections, you can adjust that setting. Typically the “After Connect” setting would be used if your FTP Server requires you to connect on the default TCP/IP Port 21. Alternatively, if your FTP Server requires you to connect on an alternate TCP/IP Port, the “Before Connect” setting would be used. This may vary depending on the FTP Server.
- The TCP/IP Port field is where you define an alternate port to connect on. Leaving this field blank uses the default port 21.
- Finally, the Connection Timeout lets you define how long FTPit Pro should wait for a response from your FTP Server before giving up.
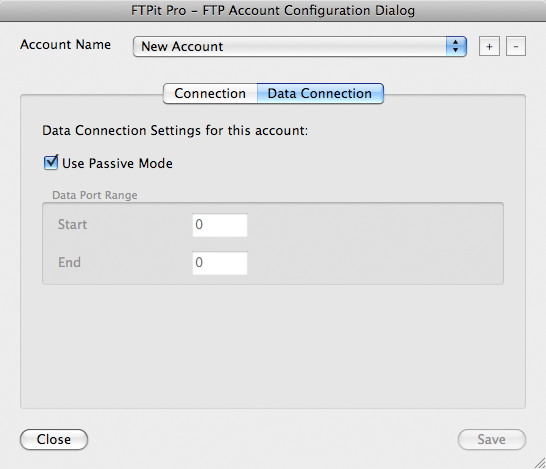 The Data Connection Tab
On this tab, you can specify whether or not you need to connect to your FTP Server with Passive connections. This setting is on by default because most people are behind firewalls and you typically need to use Passive Mode when you are behind a firewall. Unchecking the “Use Passive Mode” checkbox enables the Data Port Range settings. Again, these settings help you configure the plug-in for use behind a firewall. Your firewall documentation should help you in configuring these settings.
Access the Plug-in
When using plug-ins (not just ours), they do not add new script steps, but instead add new functions that are available in the calculation engine.
To see a calculation that tells the plug-in what to do, go to the “Scripts” menu, choose “ScriptMaker” or “Manage Scripts”. Next, double click the script you want to view. Note that we are using the “Set Field” script step which consists of two settings. The “Specify target field” button allows you to choose which field you want to set. In our case we want to set the “Result” field. The second specify button is where the FTPit Pro calculation exists. Click this button to see the calculation that is used to tell the plug-in what to do.
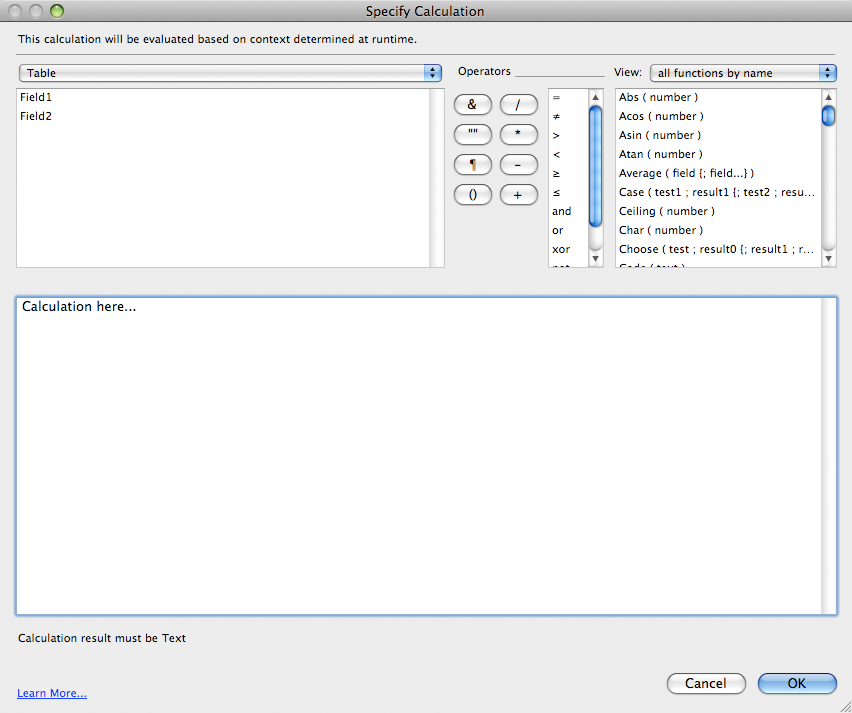
The “Specify Calculation” window as shown in the image above is found in many different places in FileMaker. The most common places to use the plug-in is within the "Set Field or “Set Variable” script/button steps.
In FileMaker’s “Specify Calculation” window, the plug-in is accessed using the “FTPit_FunctionName” functions. To find a list of these in FileMaker, click “View” menu in the top right corner of a “Specify Calculation” window, select “External Functions”, and then scroll through the list until you find the plug-in name. There are many functions available that allow you to do a variety of different things. For a complete listing of the functions and help for each one, see the Functions tab of the FTPit Pro Knowledge Base.
View Results
This example has a Result field where the plug-in Results are shown. This is where the plug-in can give you feedback on what it is doing. If an error occurs, it will report the error in the results field which can help you fix any issues you may be having. It will also report its successes so that you know everything is going as planned.
To determine which field contains the plug-in results, look at the script you are using to call the plug-in. The script will contain Set Field script steps which are how the plug-in is called. For example, the “Edit Accounts” script contains a Set Field script step that looks like:
Set Field [ FTP::Result; FTPit_ConfigureAccount ]The Target field of the Set Field script step is the “FTP::Result” field, which is how the “Result” field is determined as what will hold the feedback from the plug-in.