Frequently Asked Questions
Why does the plug-in not show up in FileMaker on Windows?
If you have installed the plug-in and it does not show up in FileMaker Pro or if the plug-in will not enable properly, try the following steps.
Microsoft's .Net Framework
Make sure you have the proper version of Microsoft’s .Net Framework installed on your computer. See the CNS Barcode installation page for more information.
Microsoft Visual C++ Redistributable Package
Make sure the proper Microsoft Visual C++ Redistributable Package is installed on your computer. See the CNS Barcode installation page for more information.
Restart Your Computer
Sometimes it is necessary to restart before .NET and the Redistributable Package will work properly.Install all Windows updates
Use Windows update to install all current updates for your computer. If your system is setup to automatically install Windows updates, you may want to manually force it to check for and install current updates to get the plug-in to work immediately.
Every time I start my solution, the license agreement window pops up, how do I stop this?
When you register the plug-in, you must agree to the license agreement or you cannot register. If you are registering the plug-in every time your solution opens, then the license agreement is going to show every time. You can, however, add an extra parameter to the register function to automatically agree to the license and the window will never show. Add the fourth parameter to the Register function like this:
CNSBC_Register( “First Name” ; “Second Name” ; “License Key” ; “I Accept the License Agreement” )This is only needed for license holders who have World Licenses that have a startup script which registers the plugin every time the solution starts.
Important Note
All licenses (excluding the Developer license) save the registration to the computer, so registration only needs to be done once. If you use a startup script like this with a license other than the World license, you may inadvertently exceed your license using this parameter.
Permalink | TopDoes the plug-in work on an iPad, iPod, or iPhone?
As of version 3.0, the download includes an iOS version of the plug-in, which you can use with the FileMaker iOS App SDK. The iOS version of the plug-in allows you to scan images for barcodes as well as generate barcodes.
Alternatively, we have an iOS app named CNS Barcode that can work in conjunction with FileMaker Go. The CNS Barcode app can be downloaded from the Apple iTunes Store and installed on an iPad/iPod/iPhone to work with FileMaker Go. See the CNS Barcode app page for more information.
Permalink | TopHow do I change the size of a generated barcode?
The plug-in does not have an option to specify the size of a generated barcode. However, depending on what you are wanting to achieve, you may be able to adjust the size of your container field in FileMaker to the desired size.
If you are wanting to print or just view a layout that includes a barcode in a container field, you can adjust the barcode size by doing the following.
- In FileMaker, go into Layout Mode and change the dimensions of the container field to the desired size
- Select your container field
- Next, open the Inspector window by going the “View” menu, and clicking “Inspector”. (For FileMaker 10 or below, click the “Format” menu, and click “Graphic”, and then skip to Step 6)
- In the Inspector window, click the “Data” tab at the top
- At the bottom of the Inspector window, find the “Data Formatting” section
- Set the “Format” option to “Reduce or Enlarge” with “Maintain original proportions” checked
How can I crop a generated barcode?
The plug-in does not have an option to crop or specify the size of a generated barcode. However, depending on what you are wanting to achieve, you may be able to adjust the size of your container field in FileMaker to get the desired effect.
If you are wanting to print or just view a layout that includes a barcode in a container field, you can crop the barcode by doing the following.
- In FileMaker, go into Layout Mode
- Select your container field
- Next, open the Inspector window by going the “View” menu, and clicking “Inspector”. (For FileMaker 10 or below, click the “Format” menu, and click “Graphic”, and then skip to Step 6)
- In the Inspector window, click the “Data” tab at the top
- At the bottom of the Inspector window, find the “Data Formatting” section
- Set the “Format” option to “Crop to frame” with “Maintain original proportions” unchecked
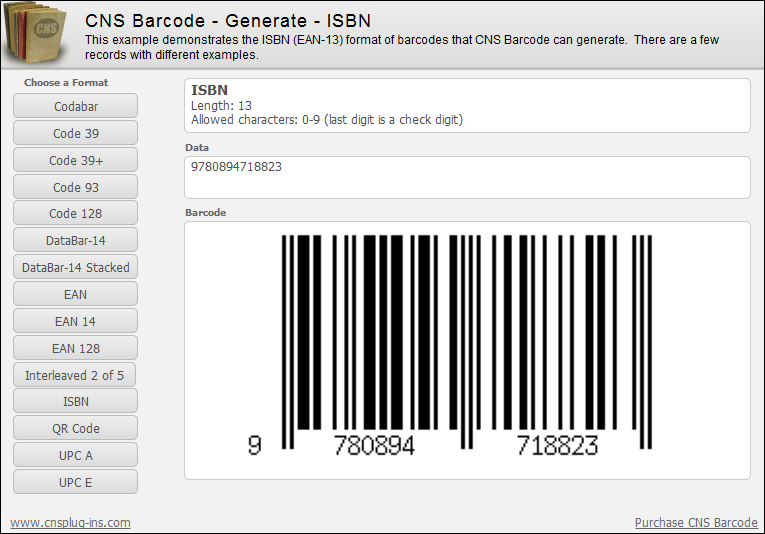
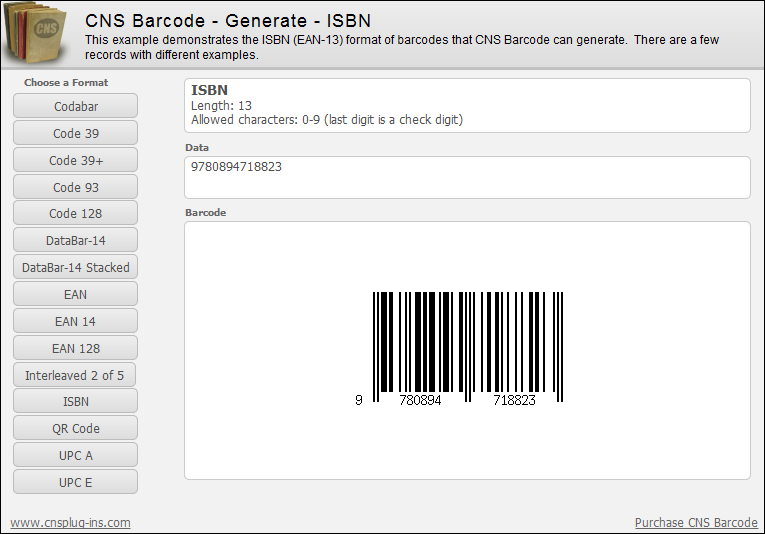
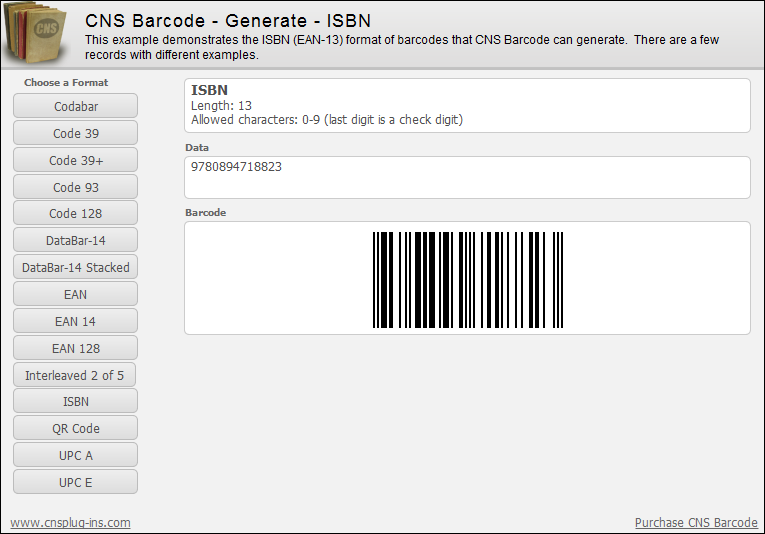
- If you want to crop off the bottom of the image (for example, to remove the human readable text/numbers), set the the Vertical alignment to “Top”, or if you want to crop off the top of the image, set the Vertical Alignment to “Bottom”
- Finally, go back to your layout and adjust the container field to the desired size
Note, if you are wanting to crop the actual barcode image file, this method will not work.
Permalink | TopHow can I remove the numbers or text under a generated barcode?
Unfortunately, the plug-in does not have an option to hide this data. However, depending on what you are wanting to achieve, you may be able to adjust the size of your container field in FileMaker to get the desired effect.
Please see the How can I crop a generated barcode? FAQ question for details on how to crop this data out so it is not visible.
Note, if you are wanting to remove this data from the actual barcode image file, this method will not work.
Permalink | TopAm I required to use the built-in Profiles?
Using the profiles is required to use the Scan Window, but if you prefer to not use them, you can implement the following to basically ignore them.
Your script will first need to create a Profile, and you can name it whatever you like. This is done using the CNSBC_AddProfile function. The script then needs to set the Profile details using the CNSBC_SetProfileOption function. The Set Field/Variable calculation in your script would look like the following.
CNSBC_AddProfile( “Scan Product” ) & “¶” &CNSBC_SetProfileOption( “Scan Product”; “Action” ; “CallScript”) & “¶” &CNSBC_SetProfileOption( “Scan Product”; “ScriptDatabase” ; “Scan”) & “¶” &CNSBC_SetProfileOption( “Scan Product”; “ScriptName” ; “TestScript” )You could also add other Profile Options not shown above using this method. Look at the CNSBC_SetProfileOption function reference found in the Functions section for a list of all the available options you can set.
If you added this calculation to the start of your CNS Barcode scripts, you could then dynamically change Profiles as needed based on fields, variables, or other criteria. Your scripts would always make the plug-in use the same Profile, but you would simply be changing the profile details as needed.
NotePermalink | Top
Calling the AddProfile function multiple times with the same profile name will not hurt anything. If the profile already exists, the function will simply return something like "Profile already exists". This is not a problem.Where can I download previous versions of the plug-in?
Previous versions of the plug-in can be downloaded from http://downloads.cnsplug-ins.com/Plug-ins/.
Permalink | Top
