Introduction
Download Example File
Scan Image Example
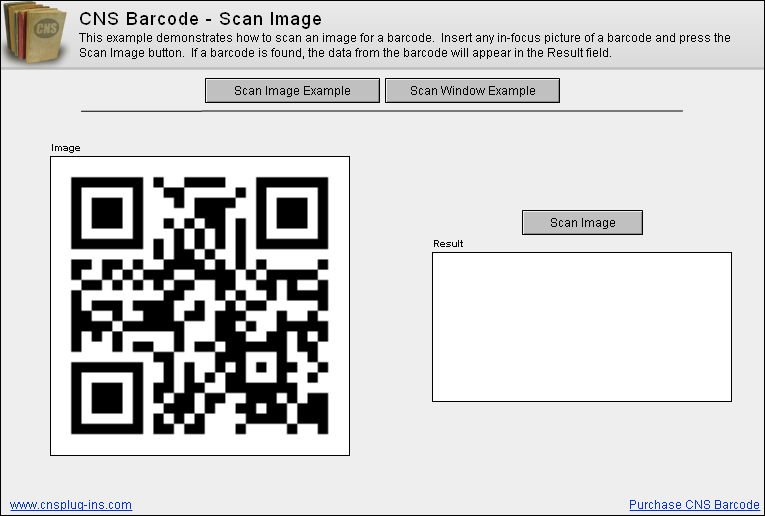
There are two ways to scan a barcode with CNS Barcode. The first way is scanning an image that has a barcode in it. The database has a QR code in the Image container field by default. When you click the Scan Image button, the plug-in will scan the image in the container field for a barcode, and if found, will return the data that is in the barcode.
To see how this works, open ScriptMaker/Manage Scripts and edit the ScanImage script.
Set Field [ScanImage::Result; “” ]
Refresh Window []
The script starts by clearing the Result field and refreshing the window. This is not required, but just helps verify the plug-in is placing data in the field.
Set Field [ ScanImage::Result; CNSBC_ScanImage( ScanImage::Image )The script uses the Set Field script step to set the “Result” field with the data in the barcode. Select the Set Field and click the “Calculated result:” Specify button in the bottom left corner.
The CNSBC_ScanImage function has one parameter, which is the location of the image to scan. This can either be a container field or the path to an image on your computer.
Commit Records/Requests []The script finishes by committing the record. Scanning an existing image of a barcode is as simple as that. Note, the CNSBC_ScanImage function can also take a profile name if you want to use a Profile to determine the action the plug-in takes after scanning the image.

