Optional Set Up Tasks
###Protecting Audit Trail Data
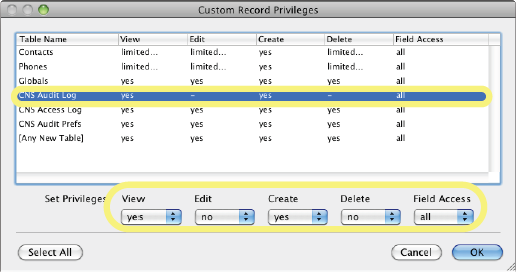
While CNS Audit is in charge of creating an Audit Trail of the database, keeping everyday users from directly modifying that Audit Trail data after-the-fact is up to the database developer. To ensure that everyday users can add to, but not modify, the Audit Trail data, modify the CNS Audit Log entry in the “Custom Record Privileges” for the everyday users' Privilege Set as follows:
- View: yes
- Edit: no
- Create: yes
- Delete: no
- Field Access: all
CNS Audit provides a CNSAudit_AccessLog function for auditing any custom actions performed by database users. This function has one required parameter and one optional parameter. The first parameter is the Action to log, for example User Login. The second parameter is any special Notes about the action, for example User is logged in after hours. This information is stored in a separate table in the database named CNS Access Log. ###Auditing Record Views
In the same way that the plug-in offers functions for tracking records being opened and deleted, CNS Audit includes a function for tracking record views. The CNSAudit_RecordView function is used within the Custom Record Privileges just like the CNSAudit_RecordOpen and CNSAudit_RecordDelete functions:
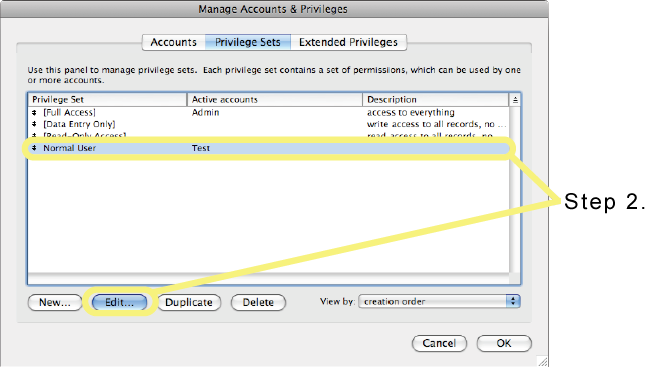
- Open up the Accounts & Privileges / Manage Security dialog.
- Switch to the Privilege Sets tab and edit the first custom privilege set.
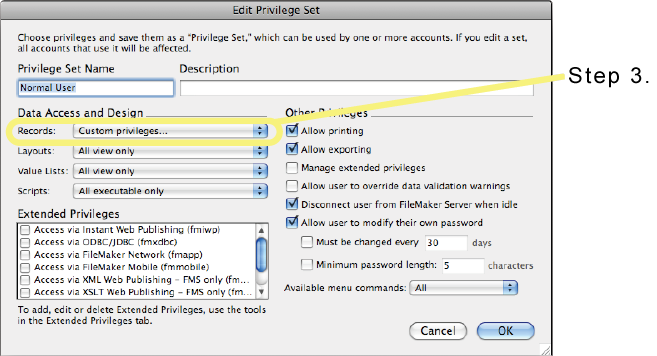
- In the Data Access and Design section, press the Records drop-down menu and select Custom Privileges.
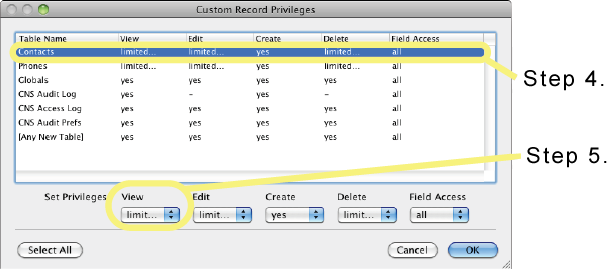
- In the Custom Record Privileges dialog that pops up, select the first table.
- Press the View drop-down menu and select limited....
- In the Specify Calculation dialog that pops up, change the View drop-down to External Functions.
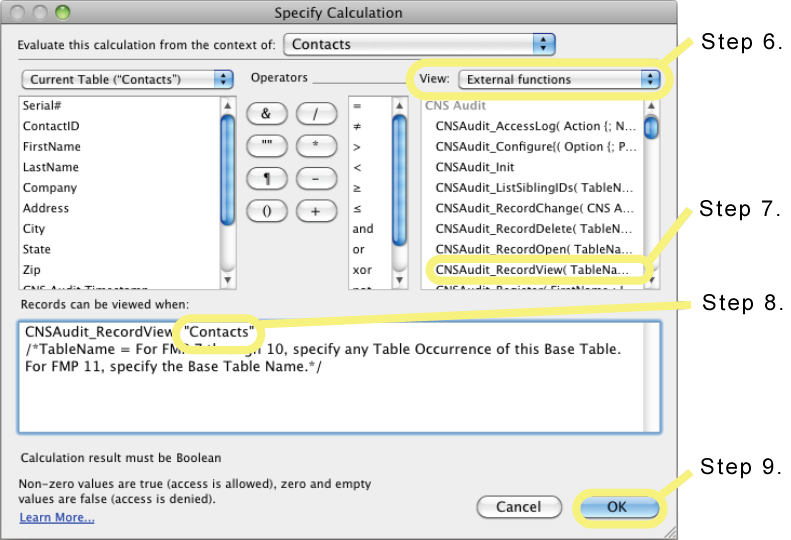
- In the list of functions, scroll down until a line for CNSAudit_RecordView is visible and double-click it.
- Determine if your database will only be used by client versions of FileMaker Pro 11 or above:
- If so, replace the TableName parameter with the Base Table Name of the table you are editing the privileges of.
- If not, specify any Table Occurrence Name of the table you are editing the privileges of. (At the top of the Specify Calculation dialog is the Evaluate this calculation from the context of setting. You can use the same Table Occurrence name in your calculation as is selected in that setting.)
- Press OK to close the Specify Calculation dialog.
- Repeat steps 5-9 for each table in the Custom Record Privileges dialog. (Once the CNSAudit_RecordOpen function has been added to one calculation, copy and paste it to the other ones, or just retype it, and skip selecting the External Functions repeatedly. Make sure you update the TableName parameter for each table, though.)
- Press OK to close the Custom Record Privileges dialog.
- Press OK to close the Edit Privilege Set dialog.
- Repeat steps 3-12 for each custom privilege that needs modifying.
- Press OK to close the Accounts & Privileges / Manage Security dialog.
Once these Custom Record Privileges are set up, the plug-in will add a record to the CNS Access Log table anytime a user views a record in the database. ###Preventing database modification if CNS Audit is not present
If CNS Audit is not installed or not enabled on a machine, any modifications to the database will not be recorded to the CNS Audit Log. To correct this behavior, some validation options can be added to prevent modification to the database. Follow these steps to prevent modification when CNS Audit is missing:
- Open the Database file and go to Define / Manage Database.
- Switch to the Fields tab and select the first table from the Table drop-down menu in which auditing has been added.
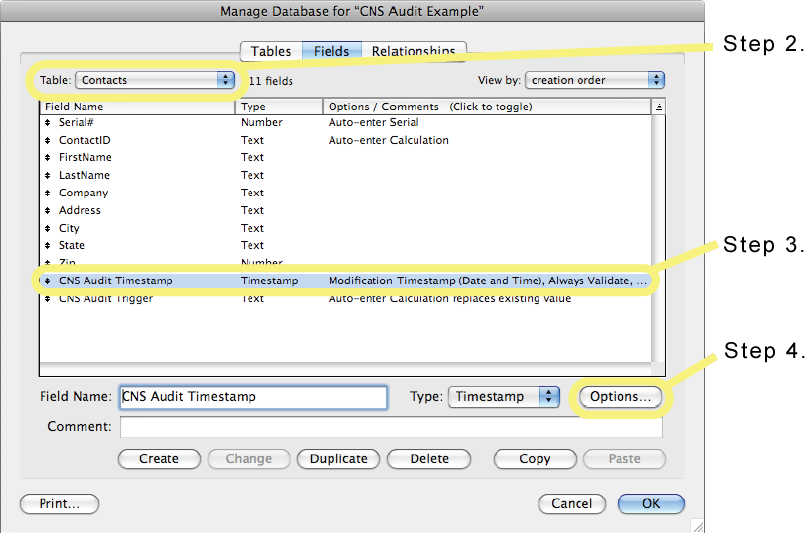
- Select the CNS Audit Timestamp field you created when setting up the database for tracking field changes.
- Press Options.
- In the Options for Field dialog that pops-up, switch to the Validation tab.
- Select Always in the Validate data in this field: section.

- Uncheck the Allow user to override during data entry option in the Validate data in this field: section.
- Check the Validated by calculation option in the Require: section.
- In the Specify Calculation dialog that pops up, type If ( CNSAudit_Version = "?" ; 0 ; 1 ) into the calculation.
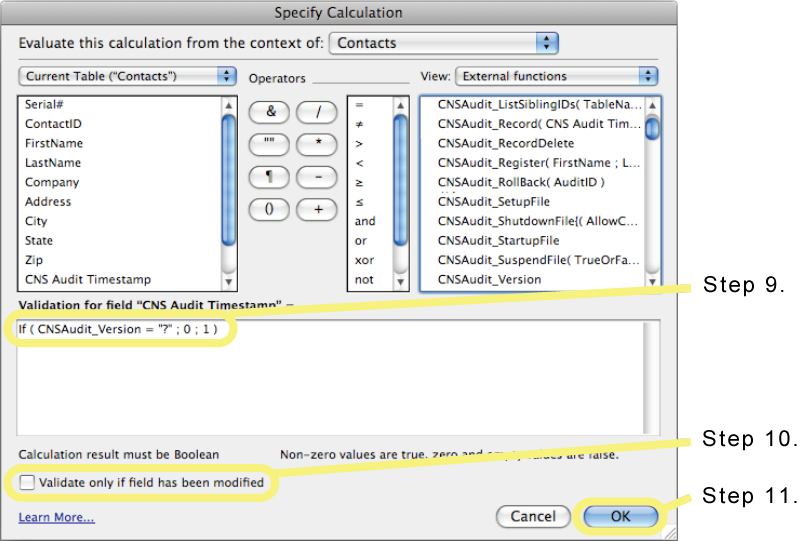
- Uncheck the Validate only if field has been modified option near the bottom of the Specify Calculation dialog.
- Press OK to close the Specify Calculation dialog.
- Optional: Back on the Options for Field dialog, check the Display custom message if validation fails option and enter in something similar to:
Modification to this database has been disabled because changes cannot be recorded to the Audit Trail log. Please make sure CNS Audit has been installed and enabled.
- Press OK to close the Options for Field dialog.
- Repeat steps 3-13 for each table that has been set up for auditing.
- Close the Define / Manage Database dialog.